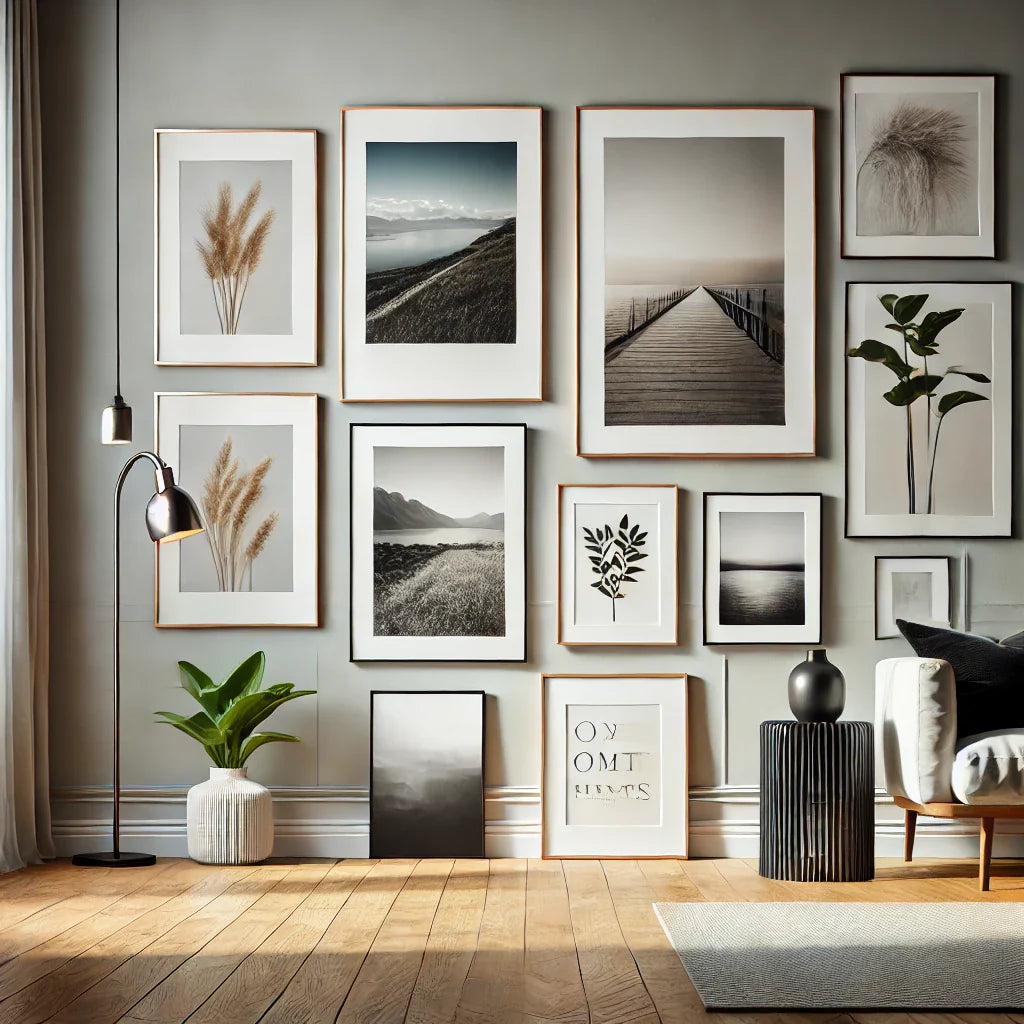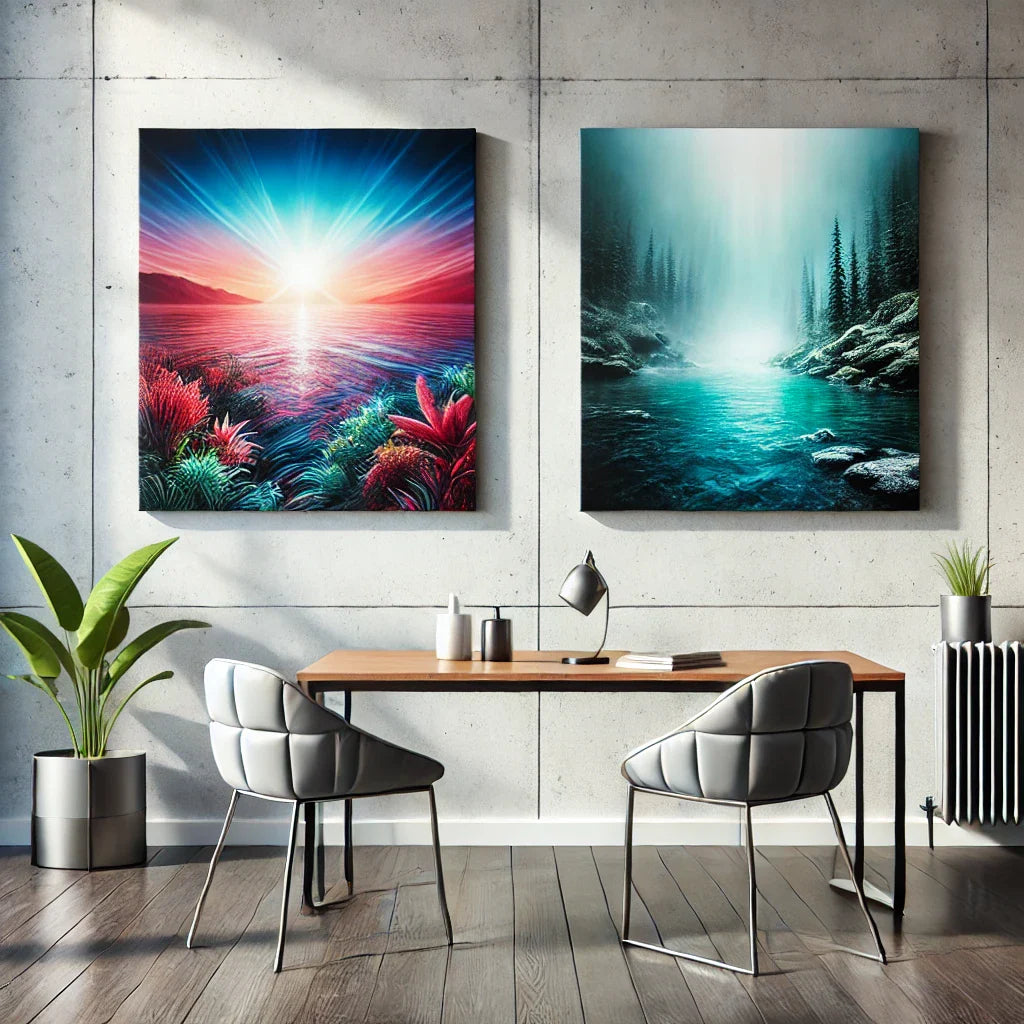
As an artist, the ability to reproduce your artwork accurately is paramount. Whether you're creating prints for sale, archiving your creations, or showcasing your portfolio, scanning your artwork plays a vital role in preserving its integrity. Today we’ll delve into the world of scanning artwork and explore techniques to ensure your creations look their absolute best on metal prints!
Choosing the Right Scanner
Investing in a high-quality scanner can significantly enhance the quality of your scanned artwork. It’s important to know what features to look for in a scanner, as well. For precise, vivid scans, make sure you’re checking for a high optical resolution of 2400 dpi or higher, a color bit depth of 48 or higher, and a scanner size that works with the size of your art.
Here are some top scanner options available on the market today:
Epson Perfection V850 Pro: This professional-grade scanner offers exceptional scanning capabilities, delivering high-resolution scans with accurate color reproduction.
Canon CanoScan 9000F Mark II: Known for its versatility, this scanner can handle various media types and provides impressive detail and color fidelity.
HP Scanjet Pro 4500 fn1: Offering fast and reliable scanning, this scanner is ideal for artists who require efficiency without compromising quality.
Remember, while a high-quality scanner can greatly enhance the digitization of your artwork, it's essential to handle your original pieces with care and take necessary precautions to avoid any damage during the scanning process.
No Scanner? No Problem.
If you don't have access to a scanner, fear not! You can still capture your artwork with a high-quality camera. Follow these tips to get the best results:
Use a tripod: To ensure stability and avoid camera shake, use a tripod or a stable surface.
Good lighting: Utilize natural or diffused lighting to prevent glare or reflections. Avoid direct flash, as it can distort colors and details.
Manual mode and RAW format: Set your camera to manual mode and capture images in RAW format for greater control during post-processing.
Optimal Resolution and Formatting
To preserve the finest details and ensure high-quality prints, it's crucial to choose the right resolution and file format.
Editing: You’ll want to edit your scanned image to ensure that all of the color, light, and detail is accurate to the original artwork. Ensure that you’ve reformatted the image to CMYK mode from RGB, as this is the color mixing that is used for printing. Remember that sometimes, colors look different on a computer screen than they do when printed, so read our guide on color calibration to ensure accuracy when printing.
Resolution: Aim for a resolution of 300 dots per inch (DPI) or higher. This ensures sharpness and captures intricate details effectively.
File format: Consider saving your scanned artwork as a TIFF (.tif) file. TIFF files are lossless and preserve all the information captured during scanning, resulting in superior image quality. You can upload .tif and .jpeg files to print on metal with Aluminyze.
Scanning Larger Artwork
When faced with larger artwork that exceeds the scanner's bed size, scanning in multiple pieces and editing them together is the way to go! Simply follow these steps to create a seamless scan of your larger-than-life art.
Overlap method: Place the artwork on the scanner, aligning it with a reference point. Scan the first section, ensuring a slight overlap with the previous scan. Repeat until you've scanned the entire piece.
Image editing software: Use image editing software like Adobe Photoshop to stitch the individual scans together. Align the images using layering techniques and blend the overlapping areas seamlessly.
Fine-tuning: After merging the scans, check for any misalignments or discrepancies. Adjust colors, brightness, and contrast to achieve a cohesive final image.
Scanning your artwork for print sounds far more daunting than it is. With a high-quality scanner or camera, you’ll be able to reproduce your favorite pieces and share even more of your art with the world!
Start printing on premium aluminum with Aluminyze today!