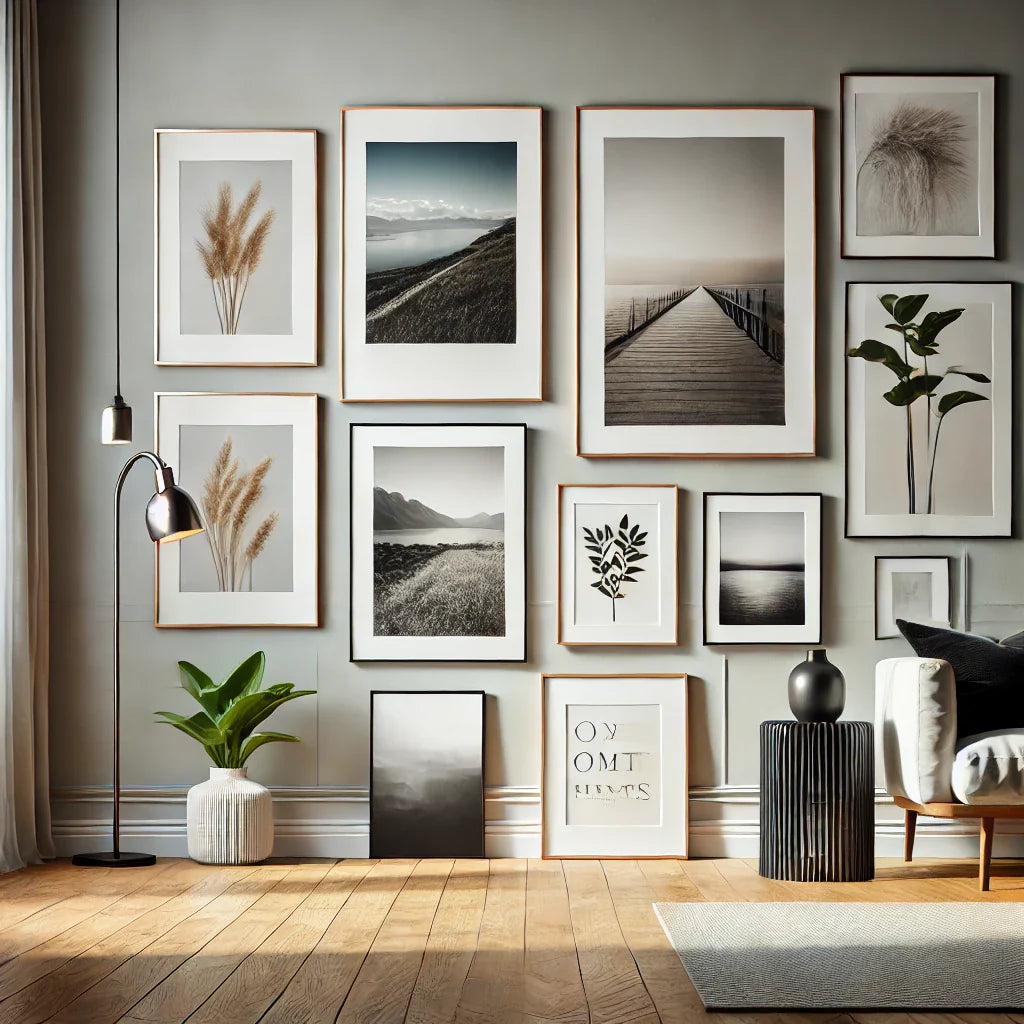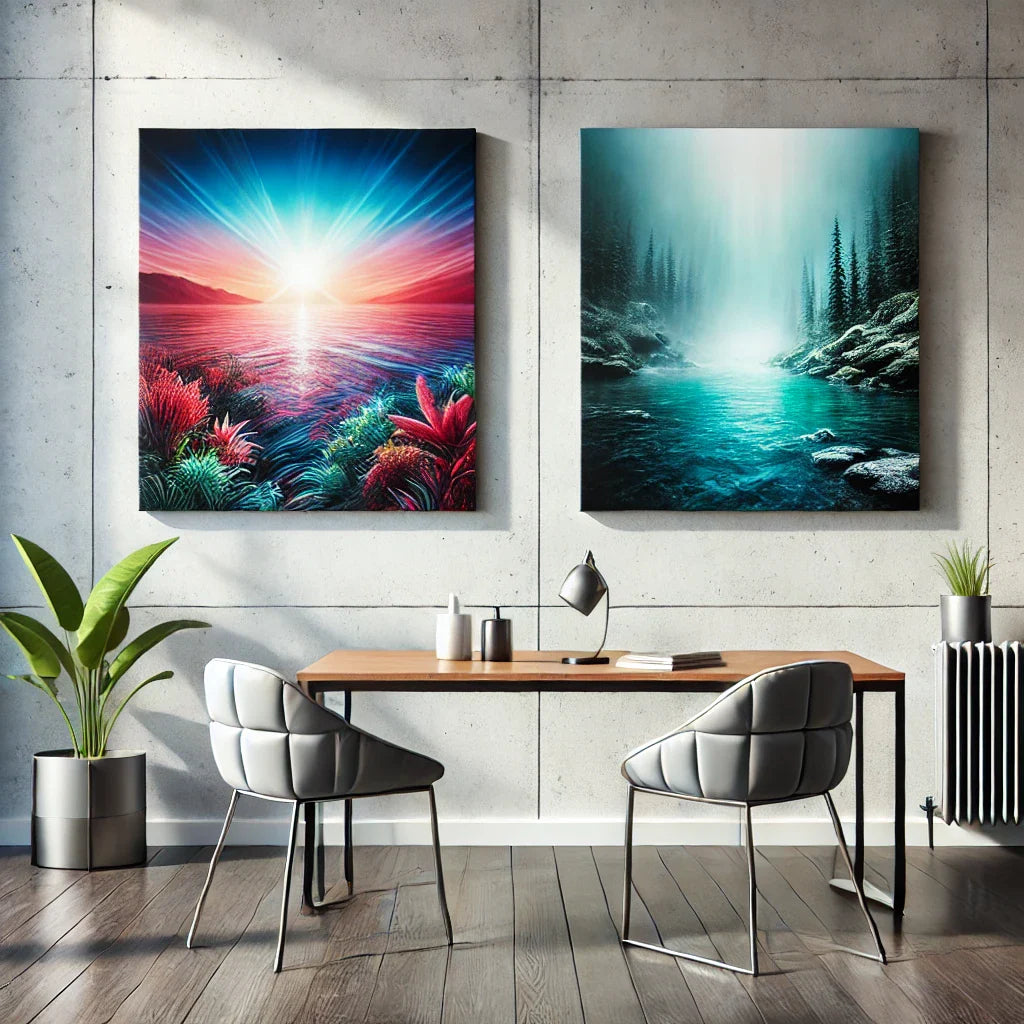

Printing your favorite photos on metal prints is a beautiful way to bring vibrancy, color, and connection into your home. With its striking, glowing effect, metal prints bring your memories to life.
When appropriately prepared, photos printed on metal have a life-like depth and pop like no other medium offers. Preparing a photograph for printing is the best way to set yourself up for success and ensure that your cherished image looks as beautiful as it can in print.
Following these essential steps will help you get the results you love and take you one step closer to having quality, meaningful photos that you can enjoy forever.
Calibrating Your Monitor
Before making any edits or cropping your photograph, it's essential to ensure that the color you are looking at on your screen is accurate to what will be printed. Color calibrating your monitor to a standard set of colors is the way to accomplish this. You can read more about the importance of color calibration and how to do it here.
Editing Your Photograph
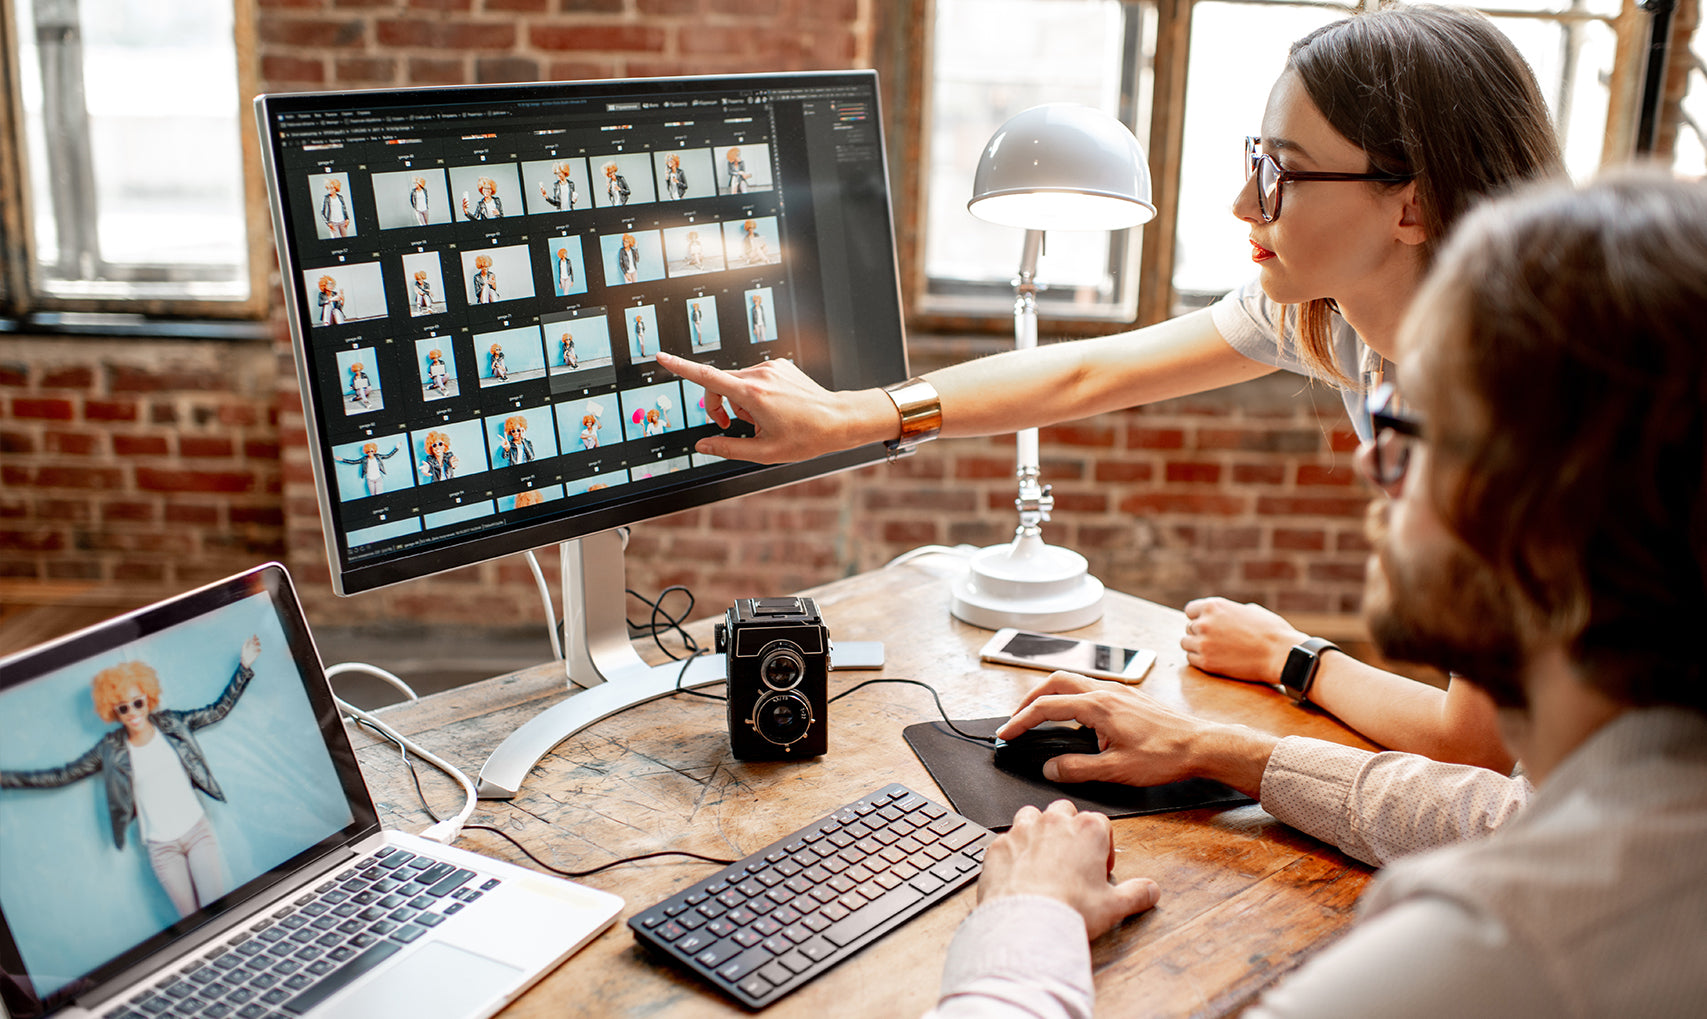
Bright, sharp images with high-contrast look incredible on metal prints. Adding slight touch-ups to your photo using any photo editing software (photoshop, free online tools, or even an app on your phone) will significantly enhance the final printed product. Editing is vital because cameras cannot capture the exact light and saturation of the world we see around us with our naked eye. Playing with your photo's brightness, contrast, vibrance, and sharpness will help you create a stunning metal print.
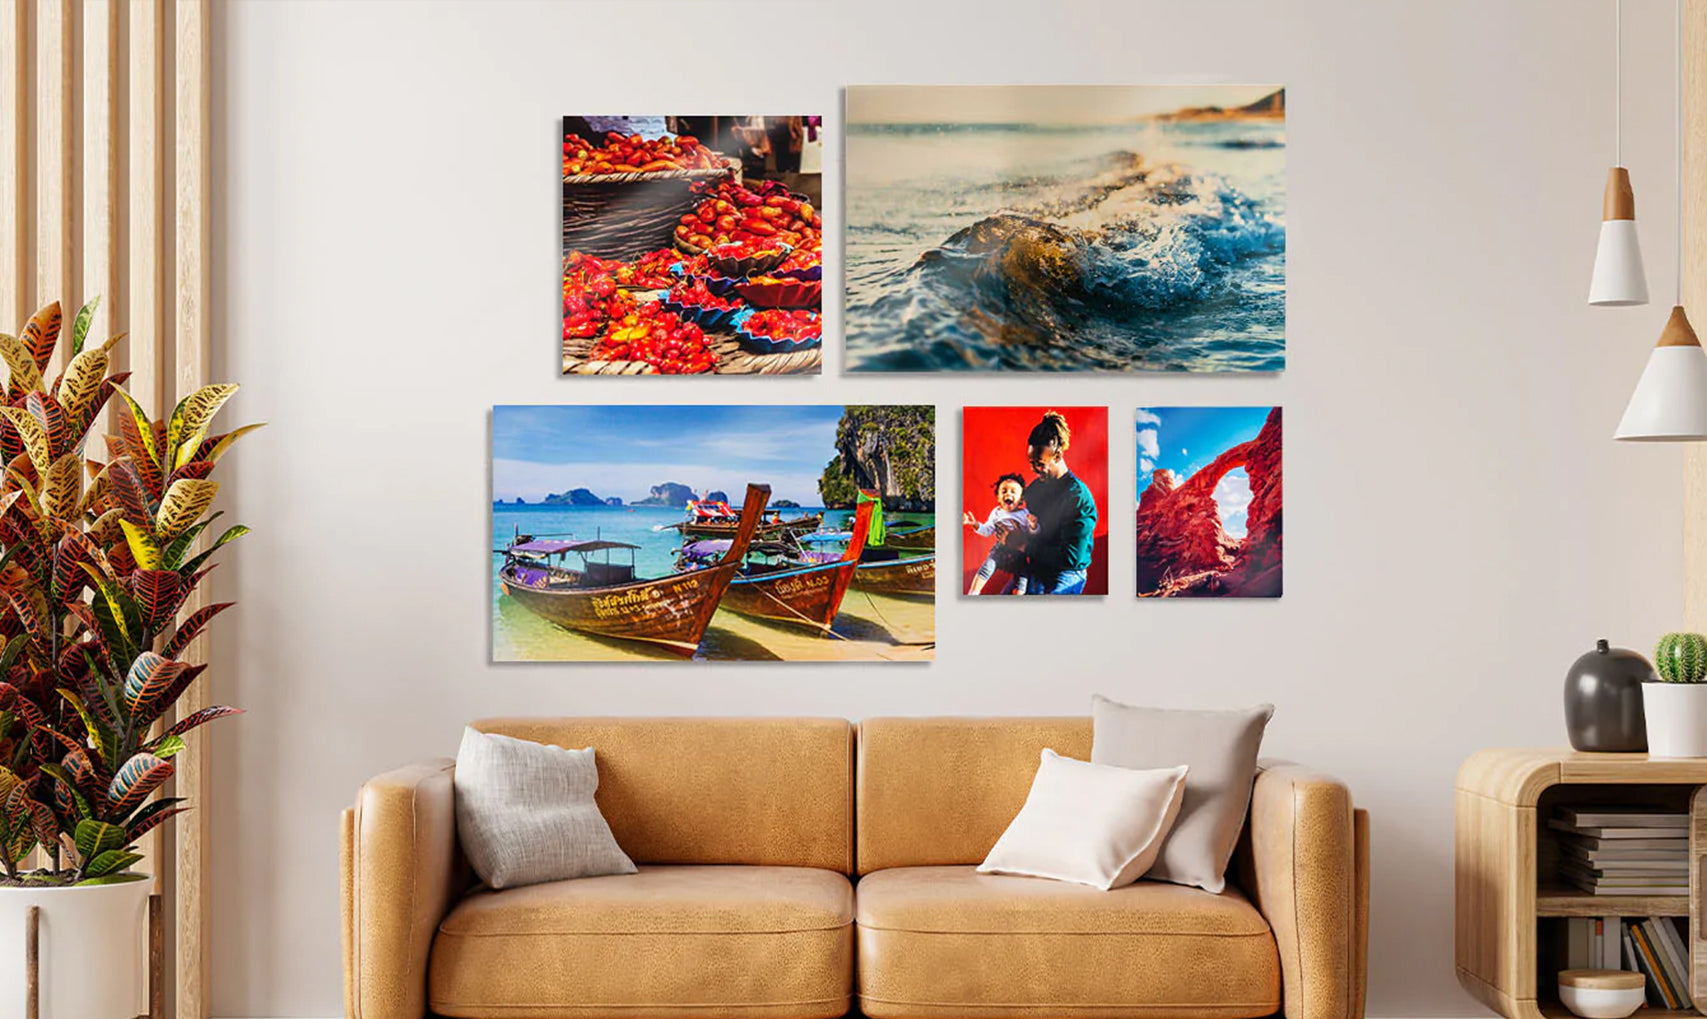
Choosing Your Size & Aspect Ratio
Now that you see the colors correctly and your photo is edited to your liking, it's time to decide what print size you want. Although the Aluminyze Editor offers a crop tool, we suggest manually choosing your photo's aspect ratio before starting the ordering process to get it exactly right. Select the aspect ratio matching your desired print size using the crop tool in your photo editor. For example, if you need your photo to fit on a metal print that is 8×10, crop it to a 4:5 aspect ratio. If you are printing a 24" x 36" metal print, crop your photo to a 2:3 ratio. Most photo editors offer the most commonly used aspect ratios.
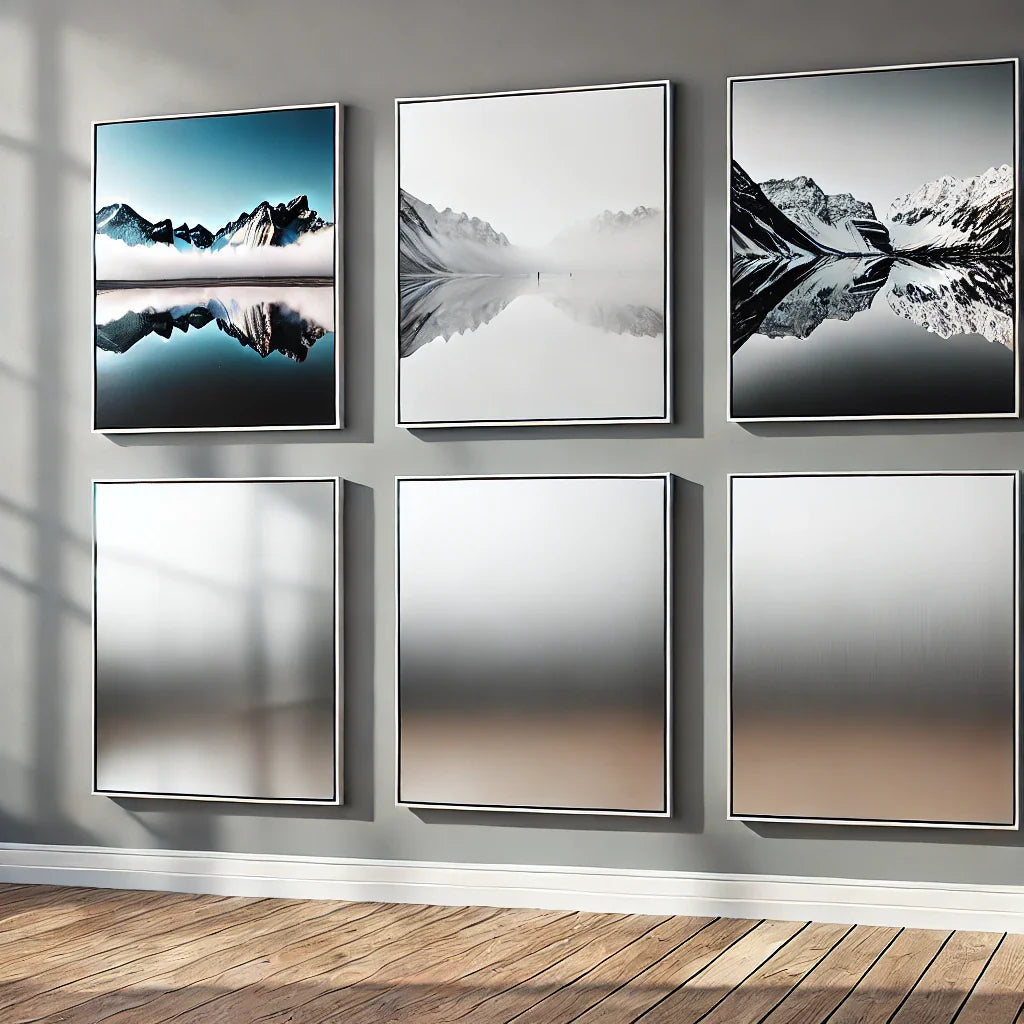
Ensuring Image Quality
An image's quality can hugely impact how it looks in print. Image quality is measured by PPI, or pixels per inch (often interchanged with DPI, or dots per inch). The higher the concentration of pixels per inch in your photo, the more detail it has. When images have a PPI below 100 pixels, there is not enough detail to print, and the picture becomes blurred and pixelated. Don't worry; if your image is too small, the Aluminyze Photo Editor will give you a warning message and suggest you find a larger file.
For optimal clarity, we suggest choosing an image with a minimum of 100 pixels per inch, though we recommend 200-300 PPI, especially for larger print sizes.
Setting the pixels per inch of your image can quickly be done with any photo editor. You might find it under Image size (Photoshop) or export settings (Lightroom). If you are unsure about the PPI of your photograph, you can always check it using your editing software.
To check an image's PPI on MAC- Open Finder and navigate to your file.
- Open the file in Preview by right-clicking the file and selecting Open With > Preview.
- In the Preview window, click Tools > Show Inspector.
- The image PPI /DPI will be shown as Image DPI in the information list provided.
- Locate your image in Explorer.
- Once you've found it, right-click the image and select Properties.
- In the Properties window, click the Details tab.
- You may need to scroll down until you find Vertical resolution and Horizontal resolution in the list of properties. This is your PPI for this image.
Exporting the Correct File Type
The last step for preparing your image for the perfect metal print is to ensure it is saved in the correct file type. The Aluminyze Photo Editor accepts all .jpeg and .png files. Images captured on iPhone are .HEIC images and need to be exported to .jpeg or .png.
On a Mac, you can easily do this by opening the file in Preview > Selecting File from the navigation bar > choosing Export > Selecting your desired format from the Format dropdown.
On Windows, open your file on the Windows Photo app > Click on Edit and Create > Click on Edit > Click on Save A Copy > Your image will be saved in .jpeg format.
Set for Success
Now that you've done all the above steps, you are ready to upload your image and choose your metal print finish! Although preparing your photo for print might take a couple of minutes of your time, the beautiful result it produces is well worth the effort. If you make sure to follow these steps, your photos will be primed and perfect for metal printing.
Are you ready? Bring your favorite photos to life on metal today!